-
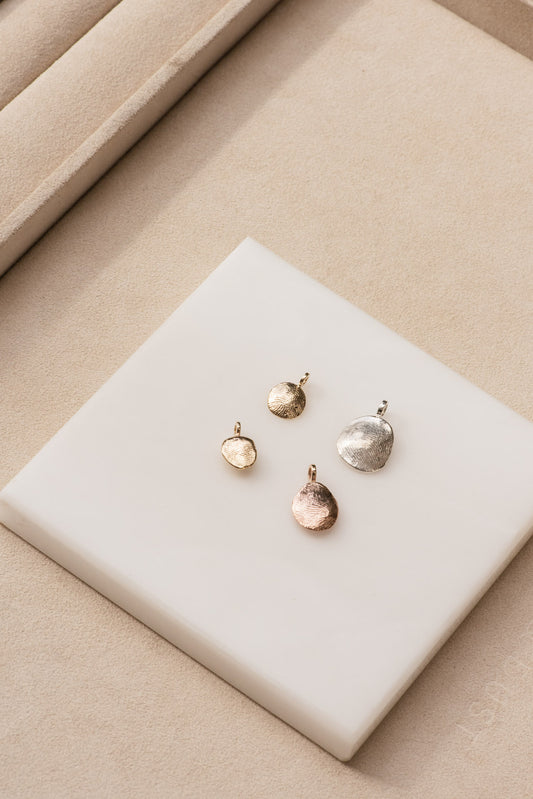
Mini C'est Nous Pendant
Regular price From $199.00Regular priceUnit price per -
Petite C'est Nous Pendant
Regular price From $229.00Regular priceUnit price per -
Milieu C'est Nous Pendant
Regular price From $259.00Regular priceUnit price per -
Grande C'est Nous Pendant
Regular price From $299.00Regular priceUnit price per


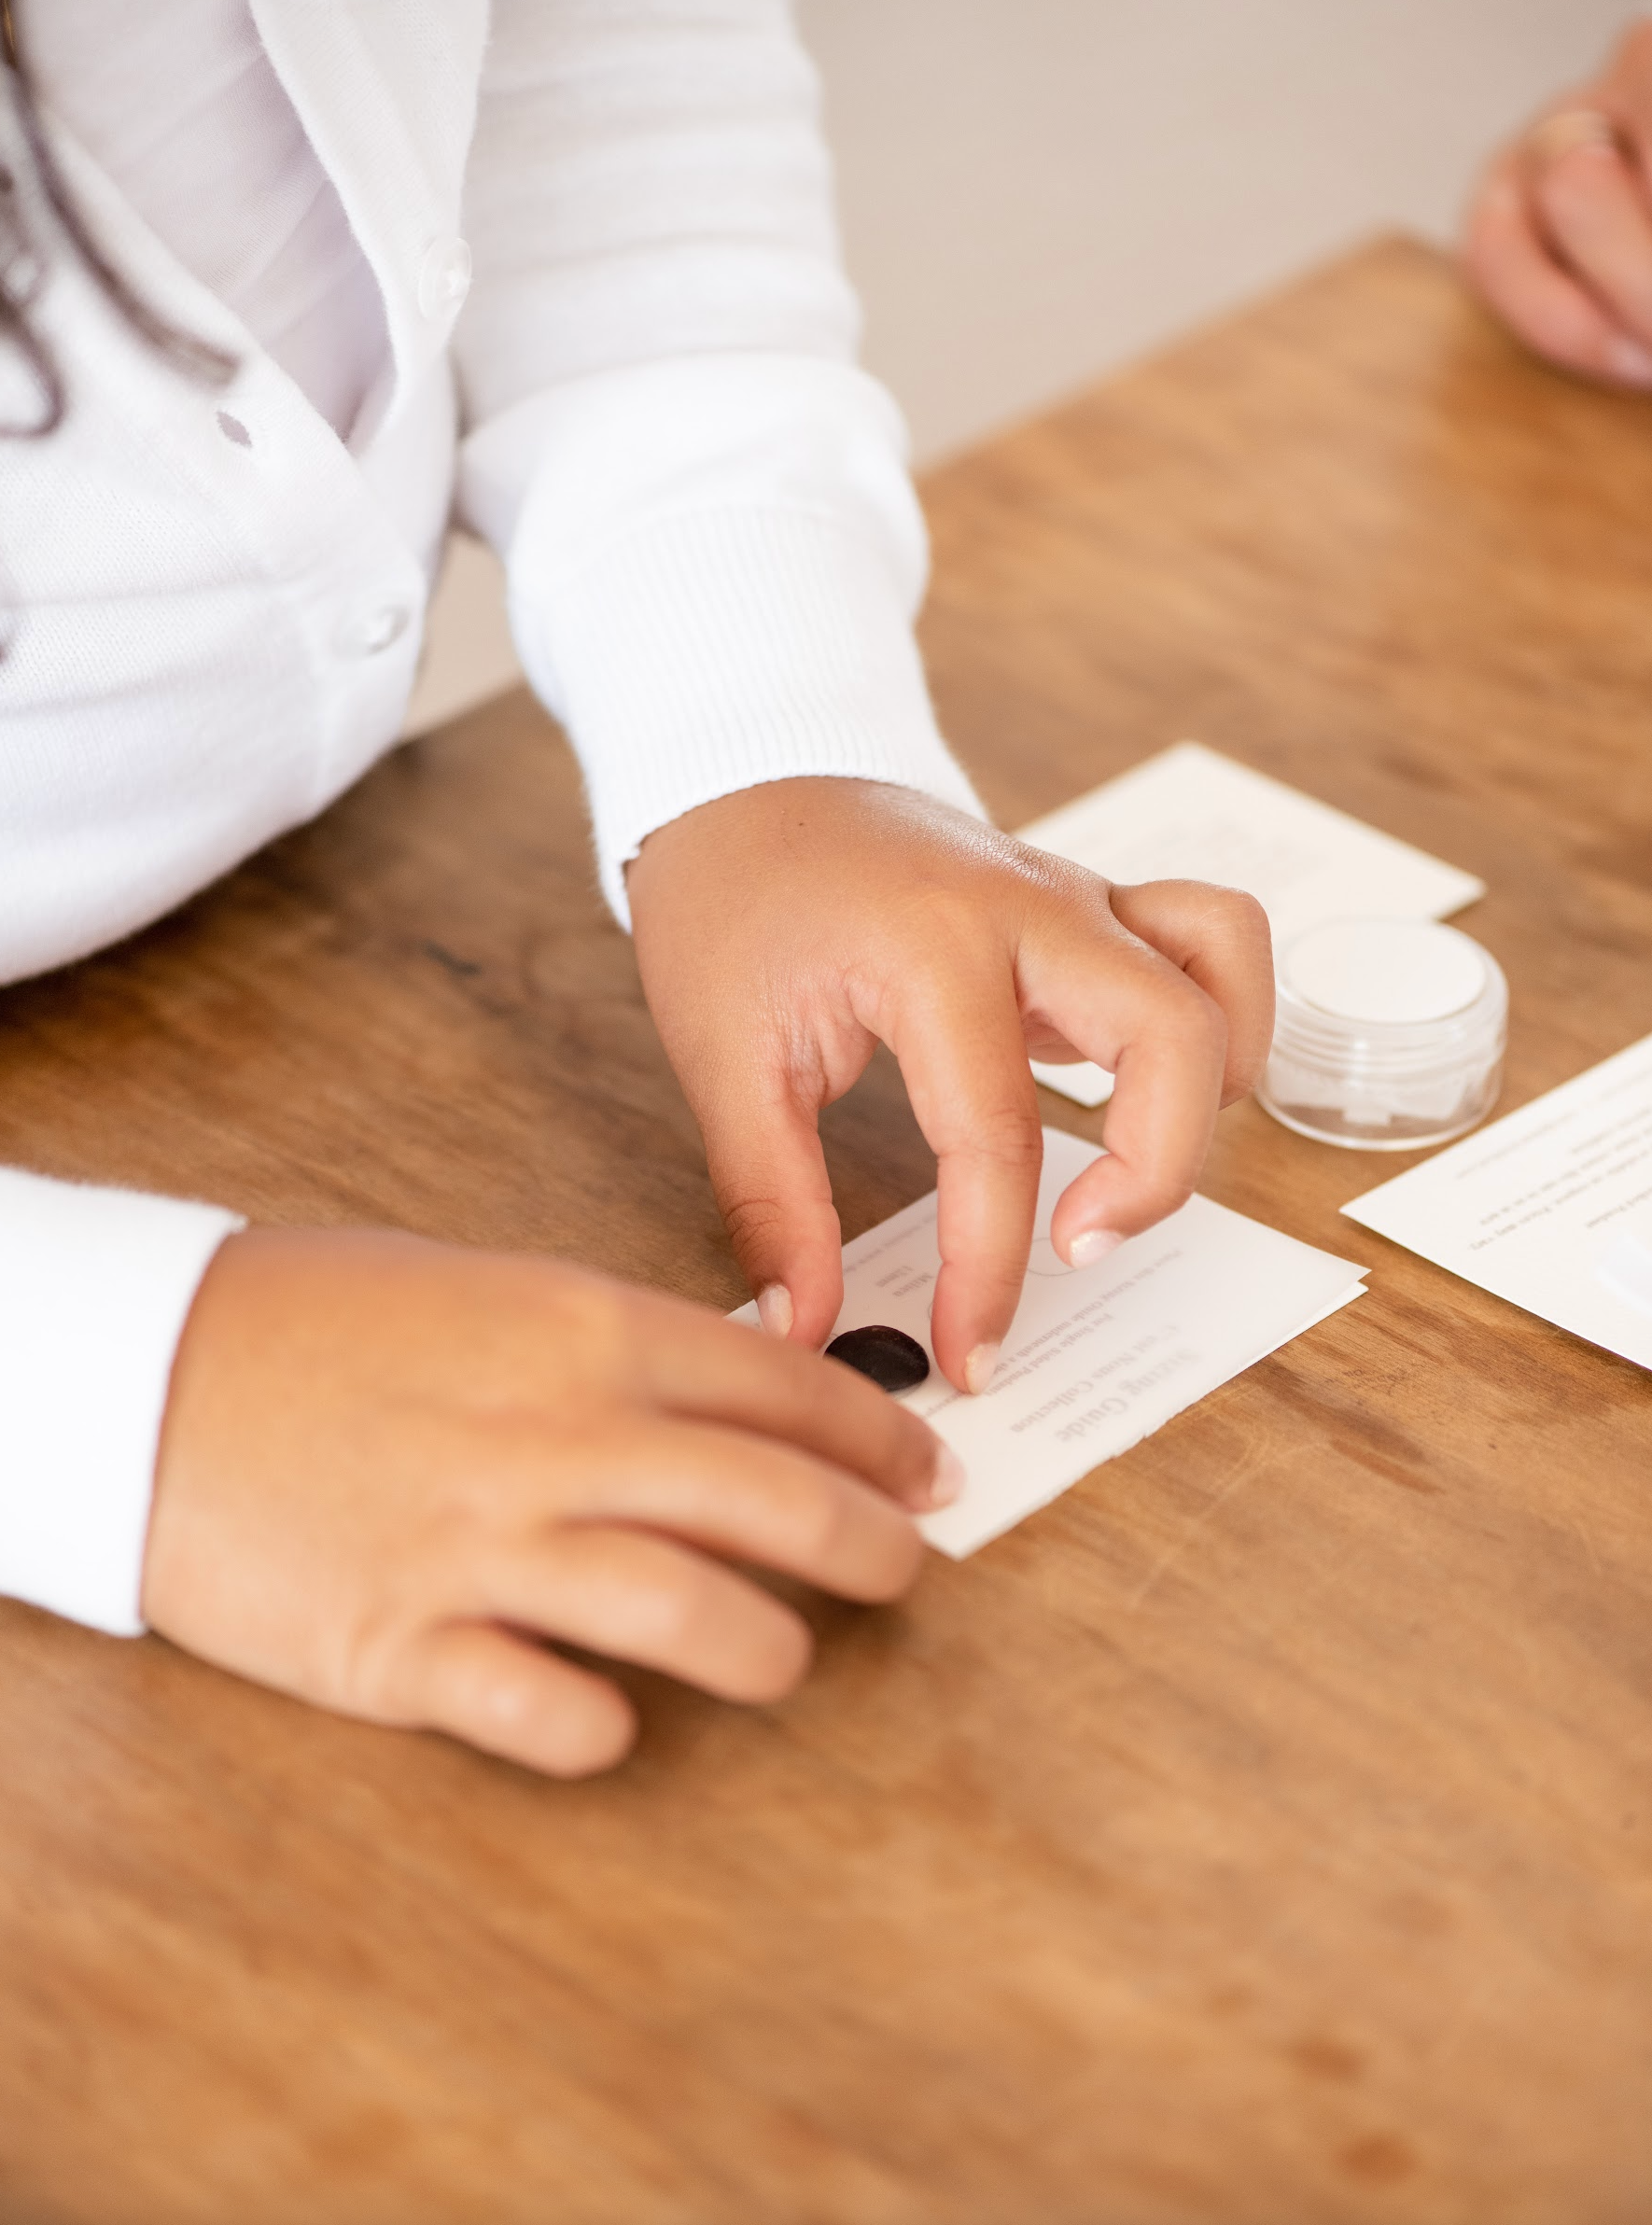
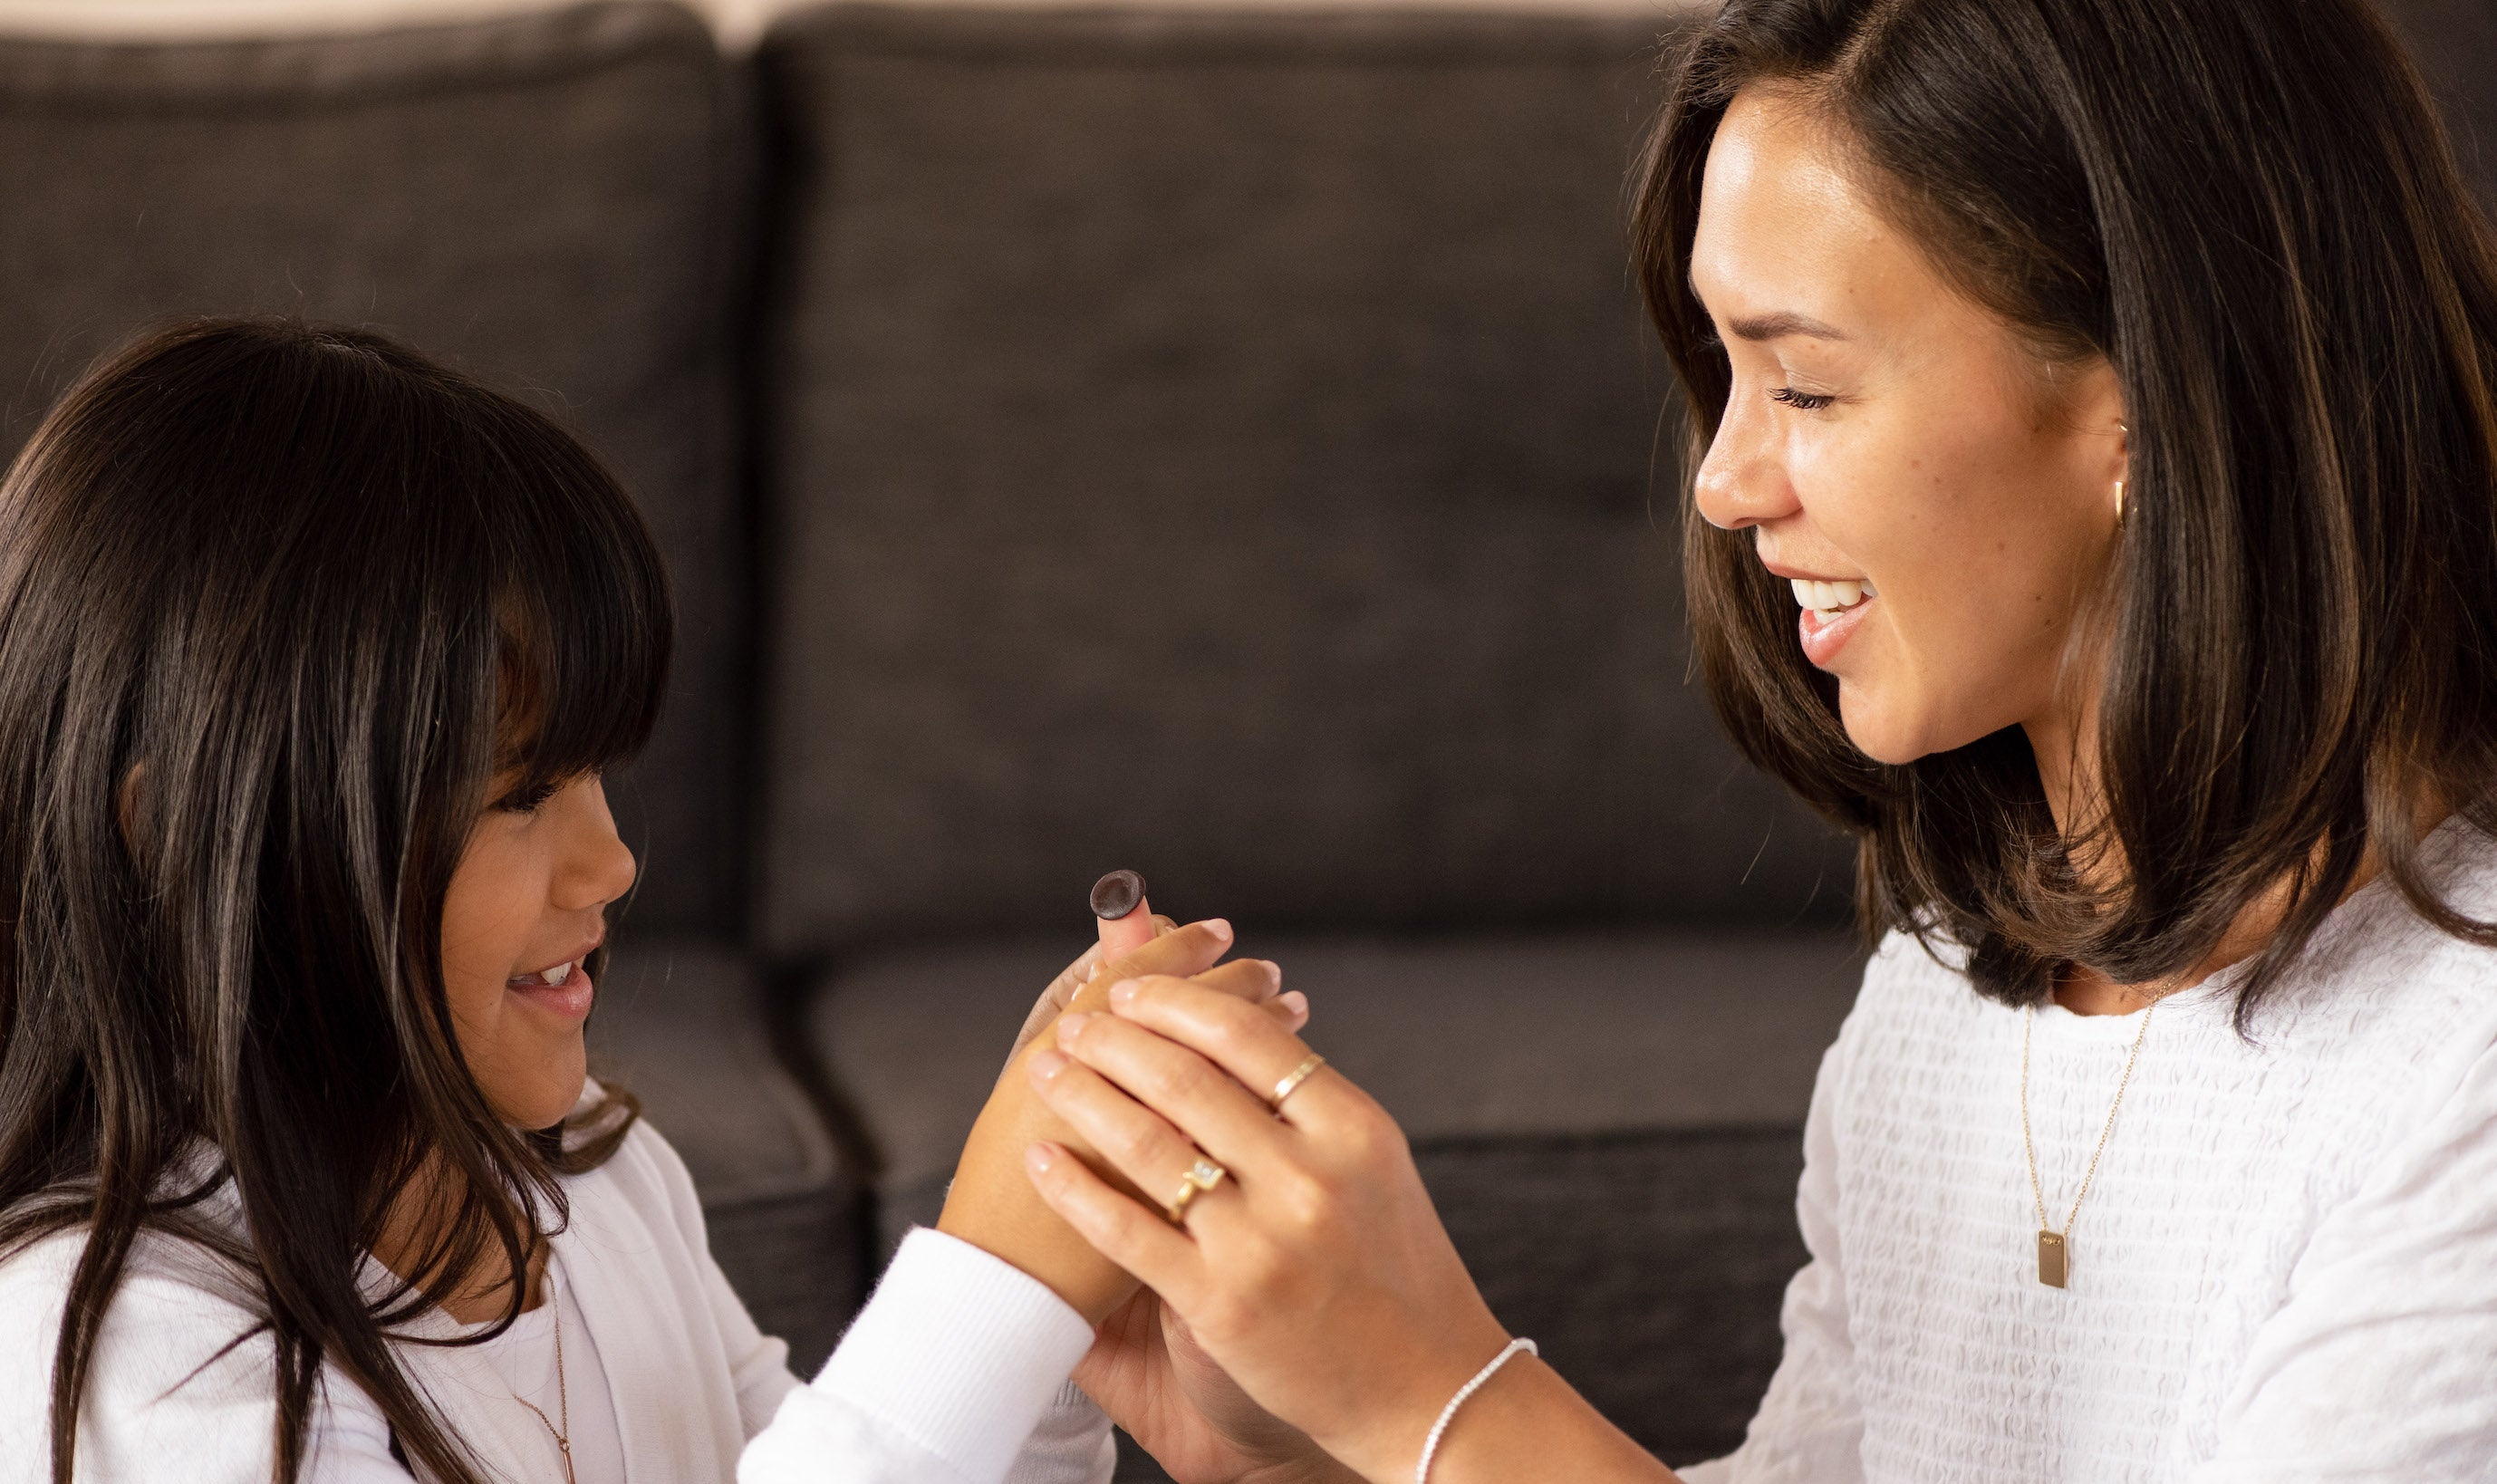
Creating Your Fingerprint Pendant
The C’est Nous Collection celebrates the unique bond between you and your loved ones. Follow these steps to create your bespoke fingerprint heirloom.
What You’ll Need (Included in Your Kit):
- Sizing Guide Template
- Greaseproof Paper
- Jar of Wax
- Hairdryer (not included)
Preparation
- Wash and dry your hands and workspace to prevent any imperfections in your wax.
- Place the greaseproof paper over your sizing guide on a clean surface before removing your wax.
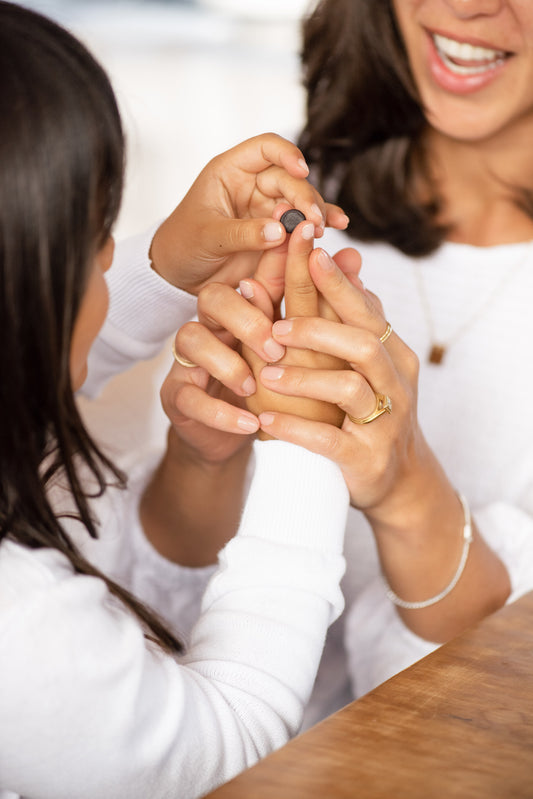
- Choose which finger you will use, pressing the centre of your fingerprint (rather than the tip) to create the most detailed imprint.
Single-Sided Pendant
Wax Preparation
- Remove your wax from the jar.
- Using a hairdryer, gently warm the wax while rolling it between your fingers. The wax should become soft and malleable.
- Shape it into a smooth, even ball. If cracks appear, continue rolling and warming until they disappear.
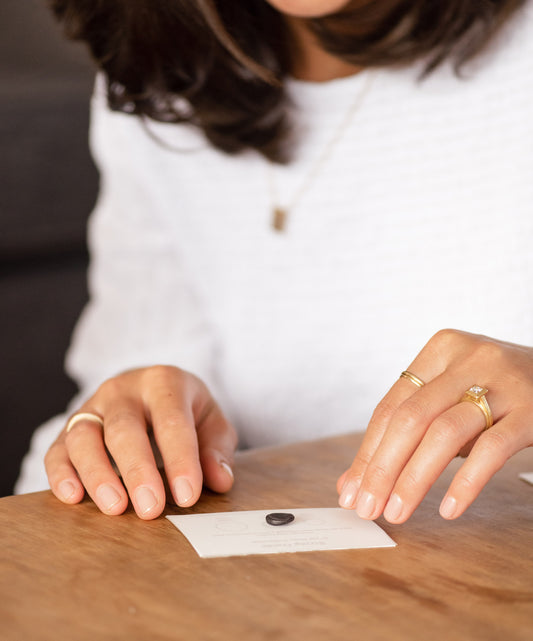
Making Your Mark
- Place the wax in the centre of the circle size selected for your finished piece (noted on the bottom of your wax jar).
- Press your chosen finger evenly into the wax until it reaches the outer edge of the size template.
- Gently lift your finger off the wax and inspect the imprint.
- If you’re not happy with the result, reheat and reshape the wax into a ball and try again.
Finishing Up
- Let the wax harden (about 10 minutes).
- Carefully trim the greaseproof paper to fit back into the jar.
- Place the paper on top of your wax to protect it, then fold (don’t scrunch) any remaining paper and place it inside before sealing the jar.
- Return your wax imprint to us in the pre-paid courier bag.
Double-Sided Pendant
Wax Preparation
- Remove your wax from the jar.
- Using a hairdryer, gently warm the wax while rolling it between your fingers. The wax should become soft and malleable.
- Shape it into a smooth, even ball. If cracks appear, continue rolling and warming until they disappear.
Making Your Marks
- Gently press the ball of wax between two fingers at the same time to create both imprints.
- Carefully lift your fingers off, ensuring you don’t touch the wax where your prints are.
- Inspect both sides—if you're not happy, reheat and reshape the wax before trying again.
Finishing Up
- Allow the wax to harden (about 10 minutes).
- Trim the greaseproof paper to fit back into the jar.
- Place the paper over the wax and fold any offcuts neatly before sealing the jar.
- Return your wax imprint to us in the pre-paid courier bag.
- Shape it into a smooth, even ball. If cracks appear, continue rolling and warming until they disappear.
Helpful Tips
For best results:
- Ensure your hands and surface are clean before handling the wax.
- The wax should be at least 1mm thick to prevent breakage.
- Babies under 6-12 months may not have fully developed fingerprints. For children under 2 years, using a thumbprint may give a clearer impression.
- If you'd like to make any design changes, let us know when you send in your wax—adjustments cannot be made once production begins.
- If you’re struggling to create the perfect imprint, you can book an appointment (in store or virtual) for assistance.
- If you purchased your kit in-store, please return your wax to the store for processing.
- If your kit was shipped, return your wax in the enclosed pre-paid courier bag.
Returning Your Wax
- Ensure your wax is securely in the jar.
- Place the jar back in the box for protection, seal the bag, and drop it off at your local post office or NZ POST courier depot. No additional details are required—we have the tracking information.
- Alternatively, return it in person to our boutique:
Dean & Dust
Shop 4 Quayside
Town Basin, Whangarei
If you need assistance, reach out to us at hello@deananddust.com.